Phone Numbers & Queues
Phone numbers
Each of the separate lines within your Amazon Connect instance has its own phone number. These can be disabled as required but should not be released as once this has been done they cannot be recovered.
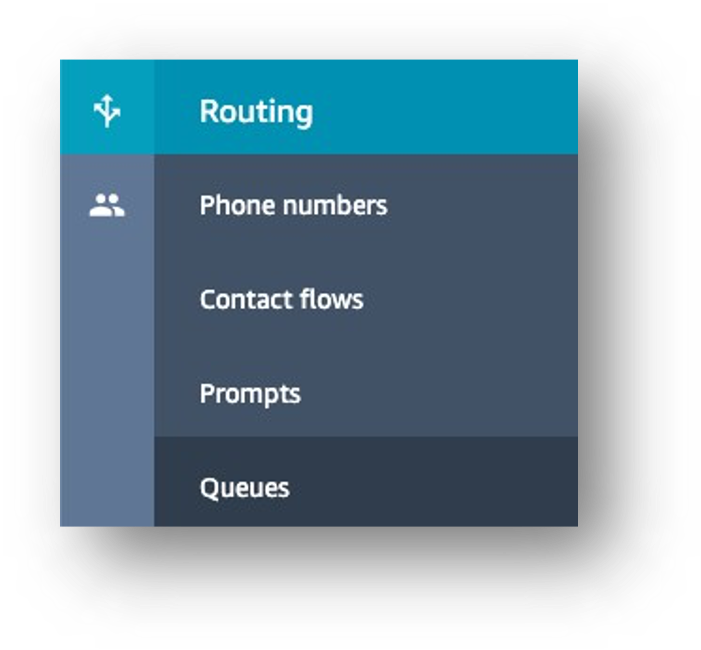
To view phone numbers in Amazon Connect, select Routing from the side menu then Phone numbers.

A list of phone numbers is displayed along with a description and the Contact Flow/IVR that each number is assigned to. The contact flow determines how the call is routed and is covered in a later section in this module.

Adding or Amending Queues
There are two types of queues in Amazon Connect:
- Standard queues: This is where contacts wait before they are routed to and accepted by agents.
- Agent queues: These queues are created automatically when you add an agent to your contact centre. Contacts are only ever routed to an agent’s queue when you specifically do this in a contact flow.
Listing queues
- To view queues in Amazon Connect, select Routing from the side menu then Queues.
- From here you can create a new queue, disable a queue and select a queue to edit.
Editing queues
Select a queue from the list to edit.
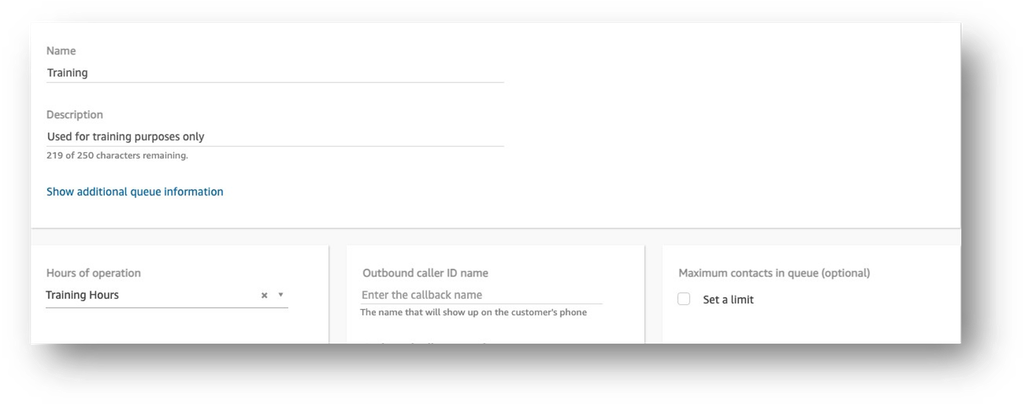
From here you can change the following:
Name This is what is displayed in any reports in SmartAgent and Amazon Connect. Description Only visible to administrators. Hours of operation Despite a check being carried out in contact flows, you must also set this against a queue. Outbound caller ID name Not supported in the UK. Outbound caller ID number You must select a number here listed in Amazon Connect. You can override this though in a contact flow. Outbound whisper flow This is a flow which is used to set call recording and analytics options, override the caller ID and also play a message to the customer when the call is connected. Queue limit Any contacts over this limit will automatically be disconnected. Quick connects Address book entries for transfer and external calls. Setting this at queue level enables you to have different quick connects for different sets of agents. Finally, click
Save when you’ve finished editing.