Create Announcements
Create and Editing an Announcement
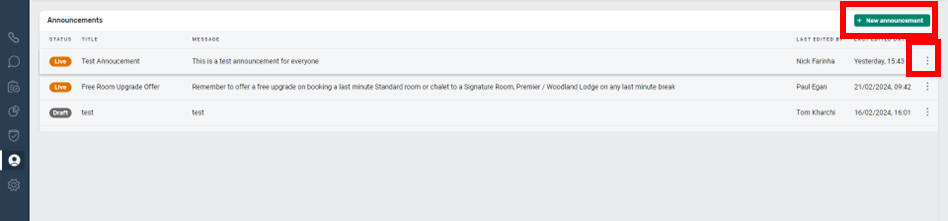
If you have the access in your security profile you will be able to create and edit announcements by going to “Admin Settings” on the left hand menu and selecting “Announcements” This will take you to a screen where you can see any current or draft announcements and can create a new announcement.
When you create a new announcement you need to give it a unique title and then input the message details, which can contain hyperlinks if needed. You then must input an expiry period and choose an option of who to send it to.
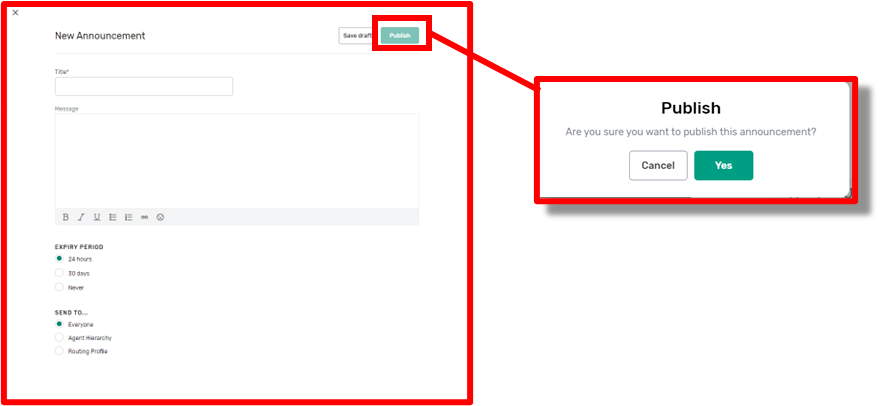
You can send it to all users, to a particular element of your Agent Hierarchy or to users with a particular routing profile.
You can then choose to save this message as a draft. This will not send out the message, but will enable it to be used as a template for other messages. You can edit an existing message from the Announcement list message by opening it, renaming it, and saving it as a further draft or publishing it.
If you choose the “publish” option, you will need to confirm you want to publish the message and it will then be sent out as you have requested.
Announcement report and deletion
You can view the status of all current messages from the announcement screen and by clicking on the three dots on the right-hand side, you can edit or delete an announcement.
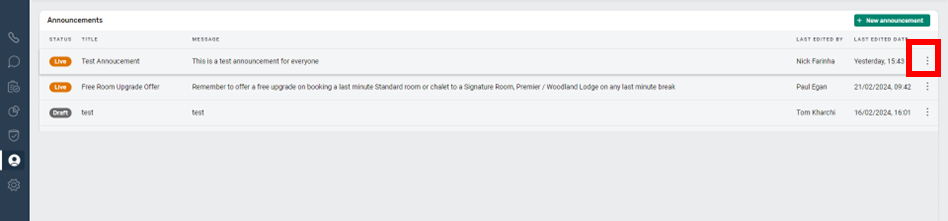
If you choose to delete an announcement it will be removed from all users announcement screens, even if it was setup with a “Never” expiry option.
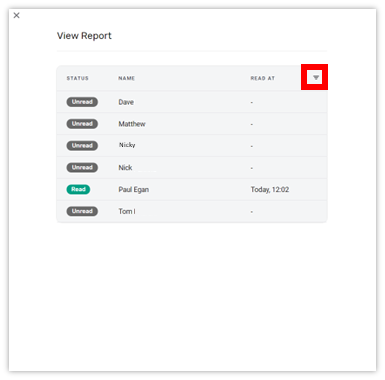
If the message is “live” you can also choose the “View Report” option which will present you with a list of users the report was sent to. You can then use the filter option to sort the list and highlight those that have or have not yet read and acknowledged the announcement.